Guide how to deploy windows VM on vCenter server compute resources.
Step #1 – Create enterprise group and add compute resources to it
Add vCenter resource to vCloud automation Center
Step #2 – A machine prefix for generating virtual machine names
- Log into vCAC as a Enterprise Administrator
- go to Enterprise Administrator –> Machine Prefixes –> New Machine prefix
Step #3 – Create provisioning group and add users to it
- Log into vCAC as a Enterprise Administrator
- Go to Enterprise Administrator –> Provisioning Groups –> New Provisioning Group
- Provide:
- Name
- Group manager email
- machine prefix
- Active directory container – if you plan to provision windows VM, otherwise type N/A
- assign users to roles
Step #4 – Create network profile – optional when in the network there is no DHCP services
- Log into vCAC as a Enterprise Administrator
- Go to Enterprise Administrator –> Network Profiles –> new network profile
- Edit network profile and assign IP ranges

network profile
Step #5 – create reservation
- Log into vCAC as a Enterprise Administrator
- go to Enterprise Administrator –> Reservation –> New Reservation –> virtual –> vSphere
- Reservation Information:
- Choose compute resources
- Reservation name
- Provisioning group
- machine quota
- Priority
- In Resource tab:
- set memory reservation
- choose storage and create reservation
- assign network
- Alerts Tab
- enable and set up alerts – Optional

reservation

resource reservation
- assign network profile to reservation

assign network profile
Step #6 – prepare virtual machine template for provisioning
- enable WMI on reference machine (template)
- test remote WMI access
- create customization profile
- create template
Step #7 – A cloning blueprint for the provisioning group and in it select the template and customization specification you created in vCenter Server
- Log into vCAC as a Enterprise Administrator
- go to Enterprise Administrator –> Global Blueprints –> New Blueprint –> virtual –> vSphere
- Blueprint information tab:
- name
- assign groups
- prefix
- set Approval policy
- enable blueprint
- Max # per user

blueprint information
- build information tab
- Blueprint type – Server
- Action – clone
- choose template
- provisioning workflow – Cloneworkflow
- clone from – choose tempalte
- provide customization specs
- define machine resources
- Security and properties leave unchanged

machine resources
In properties tab you can either assign build profiles or add custom properties. On example below I added custom property called VirtualMachine.NetworkN.ProfileName where N is a network adapter number. As my template has only one network adapter

custom properties
Basically now everything is ready for provision VM using vCloud Automation Center
- Go to Cloud Sefl provisioning portal https://<selfservice-portal-fqdn>/vCACSelfService –> New request
- choose blueprint –> provide required information and submit request

request VM
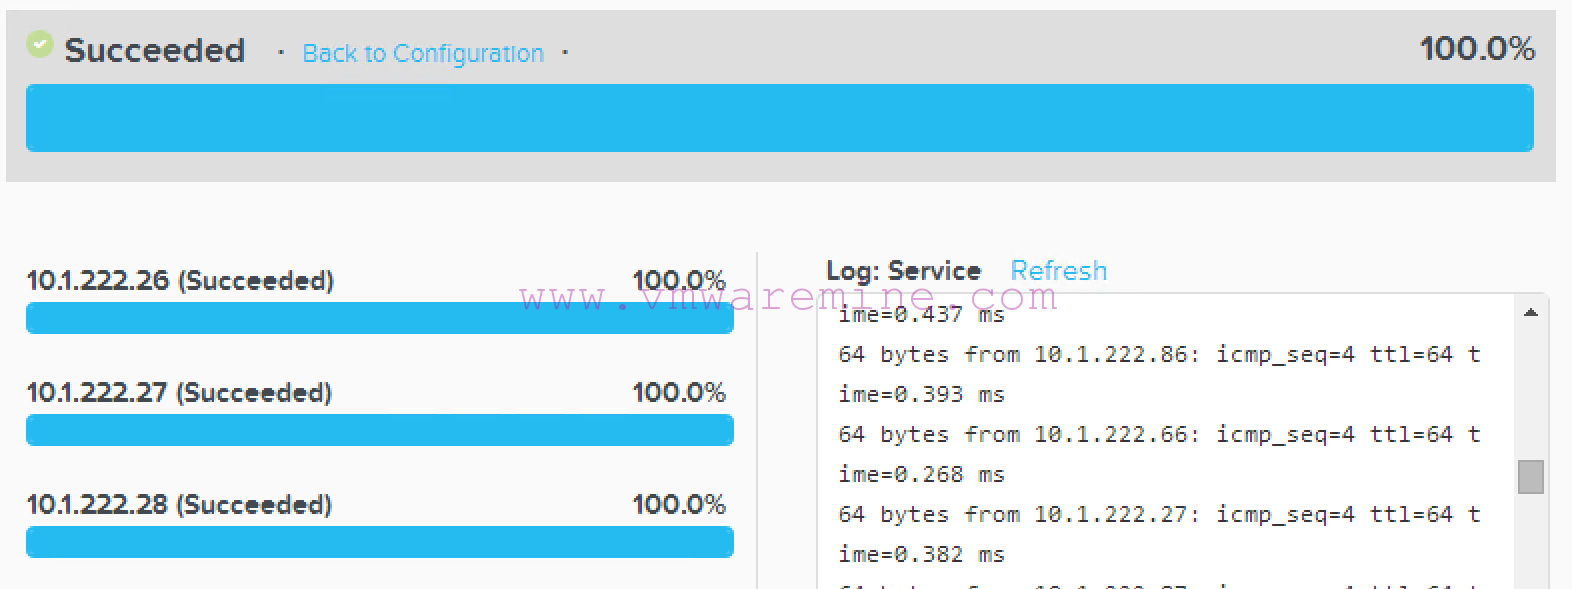
You can monitor at your request on portal page.

monitor request


Anything on how to deploy from a regular OS ISO?