Configure Nutanix Metro Availability Witness.
What is Nutanix Metro Availability Witness?
Extract from Nutanix official documentation:
A “Witness” is a special VM that monitors the Metro Availability configuration health. The Witness resides in a separate failure domain to provide an outside view that can distinguish a site failure from a network interruption between the Metro Availability sites. The goal of the Witness is to automate failovers in case of site failures or inter-site network failures. The main functions of a Witness include:
- Making a failover decision in the event of a site or inter-site network failure.
- Avoiding a split brain condition where the same storage container is active on both sites due to (for example) a WAN failure.
- Handling situations where a single storage or network domain fails.
Long story short, Metro Availability Witness will help you automate failover between datacenters or avoid split brain scenario. This is fully automated process (if you decide to leave decision to the software) which helps reduce RTO (Recovery Time Objective) and minimize human error during critical even.
Nutanix Metro Availability witness is available for Nutanix AHV (qcow disk image) and VMware vSphere ESXi (OVA appliance). Deployment is trivial and I’m not going to describe it here. Check out Nutanix documentation on how to deploy it on the platform of your choice. Once you have MA Witness up and running with static IP address, log in to it over SSH and run the command:
~$ cluster -s [witness static IP address] -- cluster_function_list=witness_vm create
Output example from above command below:
nutanix@NTNX-10-4-91-167-A-CVM:~$ cluster -s 10.4.91.167 --cluster_function_list=witness_vm create
2018-09-10 09:15:44 INFO cluster:2609 Executing action create on SVMs 10.4.91.167
2018-09-10 09:15:48 INFO cluster:1051 Discovered node:
ip: 10.4.91.167
        rackable_unit_serial: 10-4-91-167
        node_position: A
        node_uuid: e0ae6b7c-12fb-44cc-9806-0c7582515d4a

2018-09-10 09:15:48 INFO cluster:1069 Cluster is on arch x86_64
2018-09-10 09:15:48 INFO genesis_rack_utils.py:49 Rack not configured on node (svm_ip: 10.4.91.167)
2018-09-10 09:15:48 INFO cluster:1321 Setting the cluster functions on SVM node 10.4.91.167
2018-09-10 09:15:48 INFO cluster:1326 Configuring Zeus mapping ({u'10.4.91.167': 1}) on SVM node 10.4.91.167
2018-09-10 09:15:50 INFO cluster:1342 Creating cluster with SVMs: 10.4.91.167
2018-09-10 09:16:11 INFO cluster:1389 Waiting for services to start
Waiting on 10.4.91.167 (Up, ZeusLeader) to start:  SSLTerminator Medusa DynamicRingChanger InsightsDB Ergon SysStatColle               ctor APLOS

Waiting on 10.4.91.167 (Up, ZeusLeader) to start:  SSLTerminator Medusa DynamicRingChanger InsightsDB Ergon SysStatColle               ctor APLOS
.
.
.

Waiting on 10.4.91.167 (Up, ZeusLeader) to start:  DynamicRingChanger InsightsDB Ergon SysStatCollector APLOS
Waiting on 10.4.91.167 (Up, ZeusLeader) to start:  APLOS
Waiting on 10.4.91.167 (Up, ZeusLeader) to start:
The state of the cluster: start
Lockdown mode: Disabled

        CVM: 10.4.91.167 Up, ZeusLeader
                                Zeus   UP       [10148, 10175, 10176, 10177, 10213, 10228]
                           Scavenger   UP       [12266, 12301, 12302, 12303]
                       SSLTerminator   UP       [13608, 13646, 13647, 20281]
                              Medusa   UP       [13724, 13807, 13808, 13892, 14293]
                  DynamicRingChanger   UP       [19503, 19586, 19587, 19709]
                          InsightsDB   UP       [19507, 19610, 19611, 19684]
                               Ergon   UP       [19512, 19668, 19669, 19671]
                    SysStatCollector   UP       [19516, 19629, 19630, 19632]
                               APLOS   UP       [20194, 20235, 20236, 20238]
2018-09-10 09:17:20 INFO cluster:2722 Success!
nutanix@NTNX-10-4-91-167-A-CVM:~$
Next step is to check out if you can log in into MA witness via WebUI
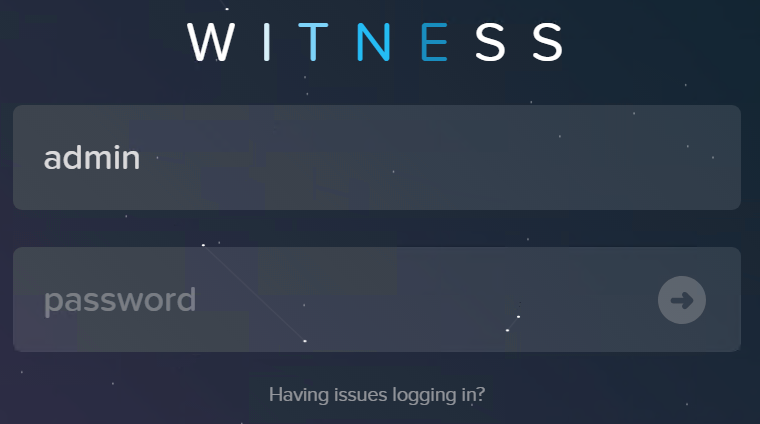
MA Witness log in screen
Register Nutanix clusters into MA Witness. Log in to Prism Element and from gear icon, choose Configure Witness, provide IP address and credentials to Witness VM.
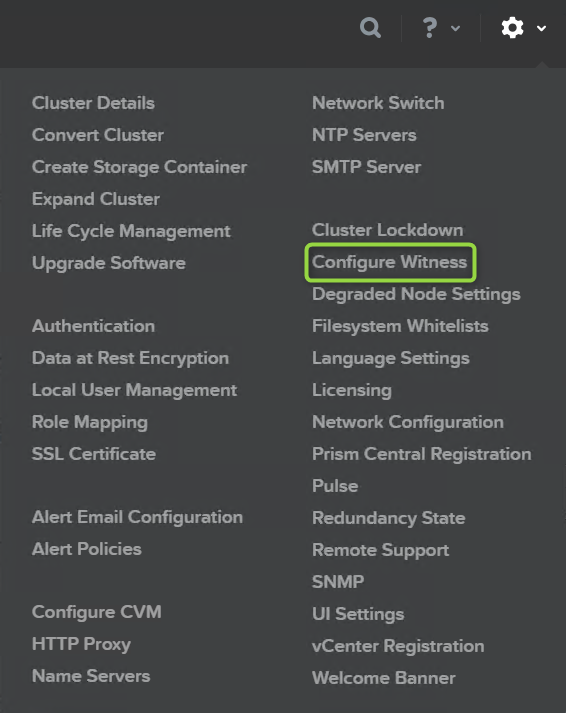
Add cluster onto the MA witness
Now, when will you be creating new Metro Availability Protection Domain in Nutanix Prism Element, Witness failure handling mode will be active.
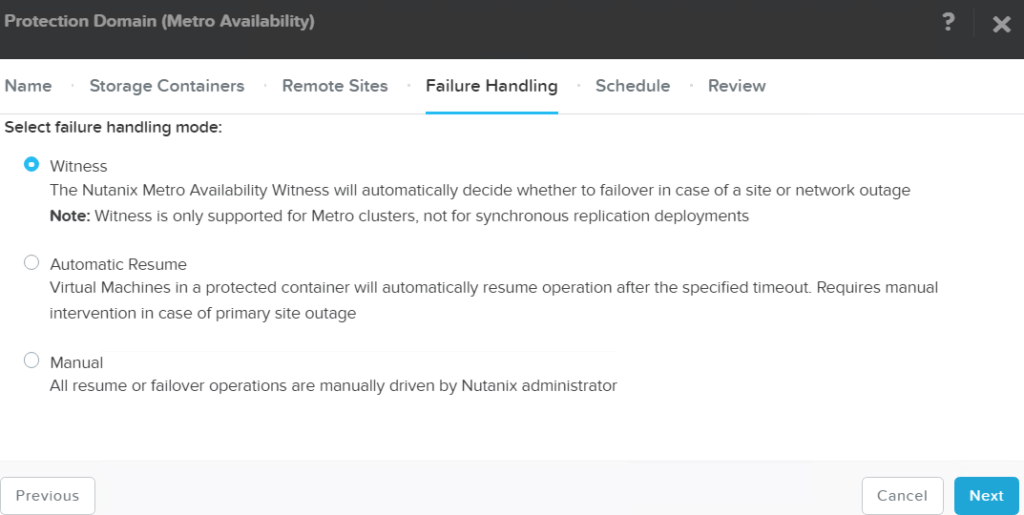
Witness failure handling mode
You can see all your protection domain configured with Witness mode in Witness WebUI.

Witness Protection domains